User guide · 1/15
Getting started
First run, the administrator account, and the four-step onboarding that sets language, learner label, currency and your academy profile.
What you need
- Web edition: a browser and the address of your server. If you have not deployed yet, follow Deployment first; it takes a few minutes on Coolify or with Docker.
- Android app: install the APK. The app works entirely offline; nothing on this page needs a network.
Both editions share the same screens and the same rules, so this guide applies to either. Screenshots come from the web edition.
Create the administrator account (web edition)
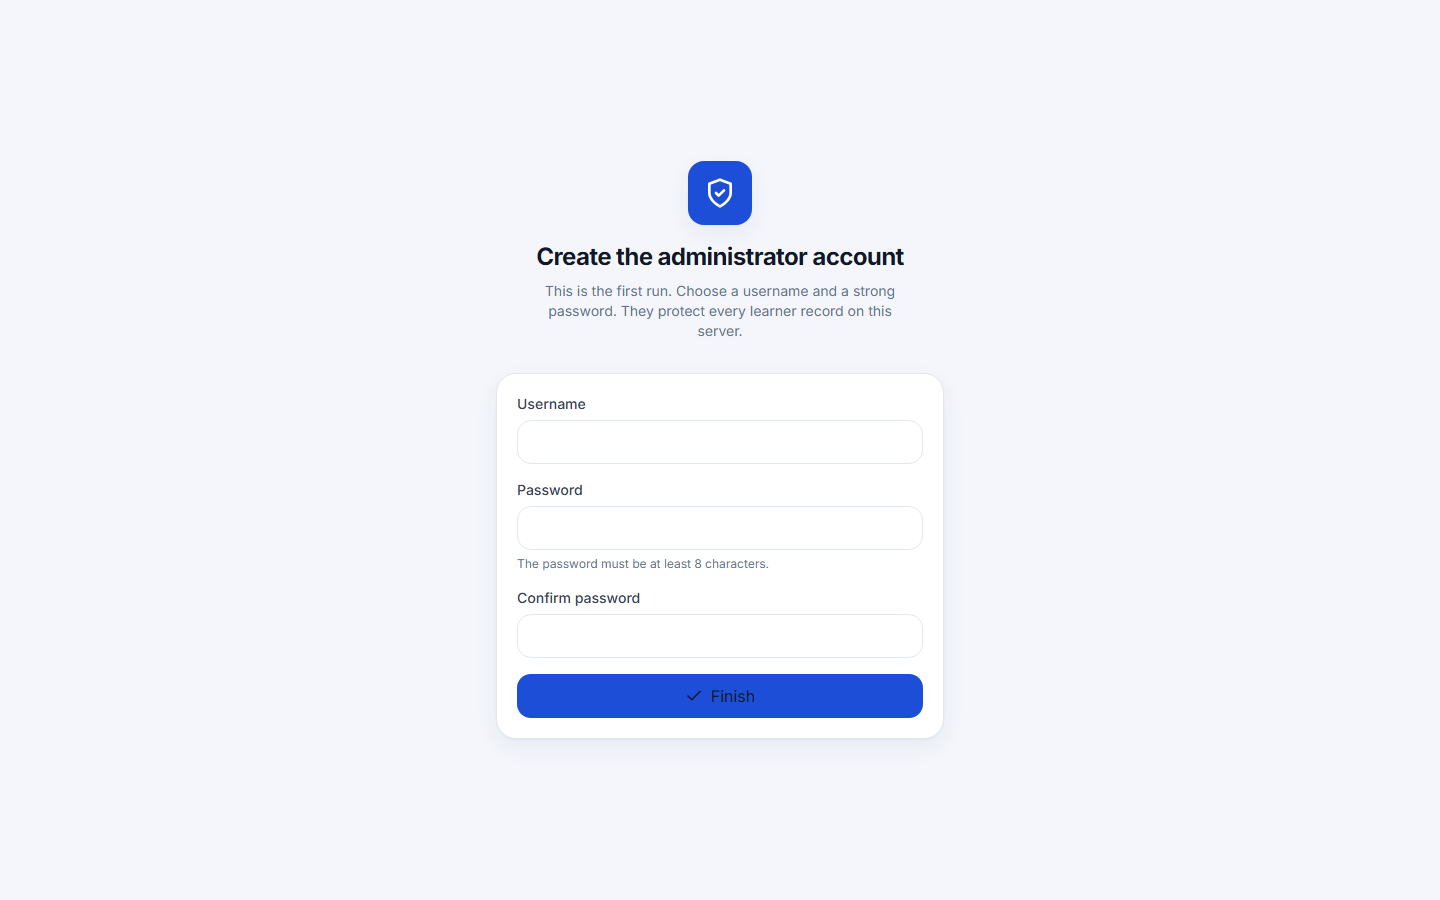
The first time the server starts it has no users, so every address redirects to Setup. Choose a username (at least 3 characters) and a strong password (at least 8). This account protects every learner record on the server; keep the password in a password manager.
Sign-in is rate-limited: after ten wrong attempts from one address the server refuses for fifteen minutes.
Onboarding
Onboarding runs once and asks four questions. Every answer can be changed later under Settings.
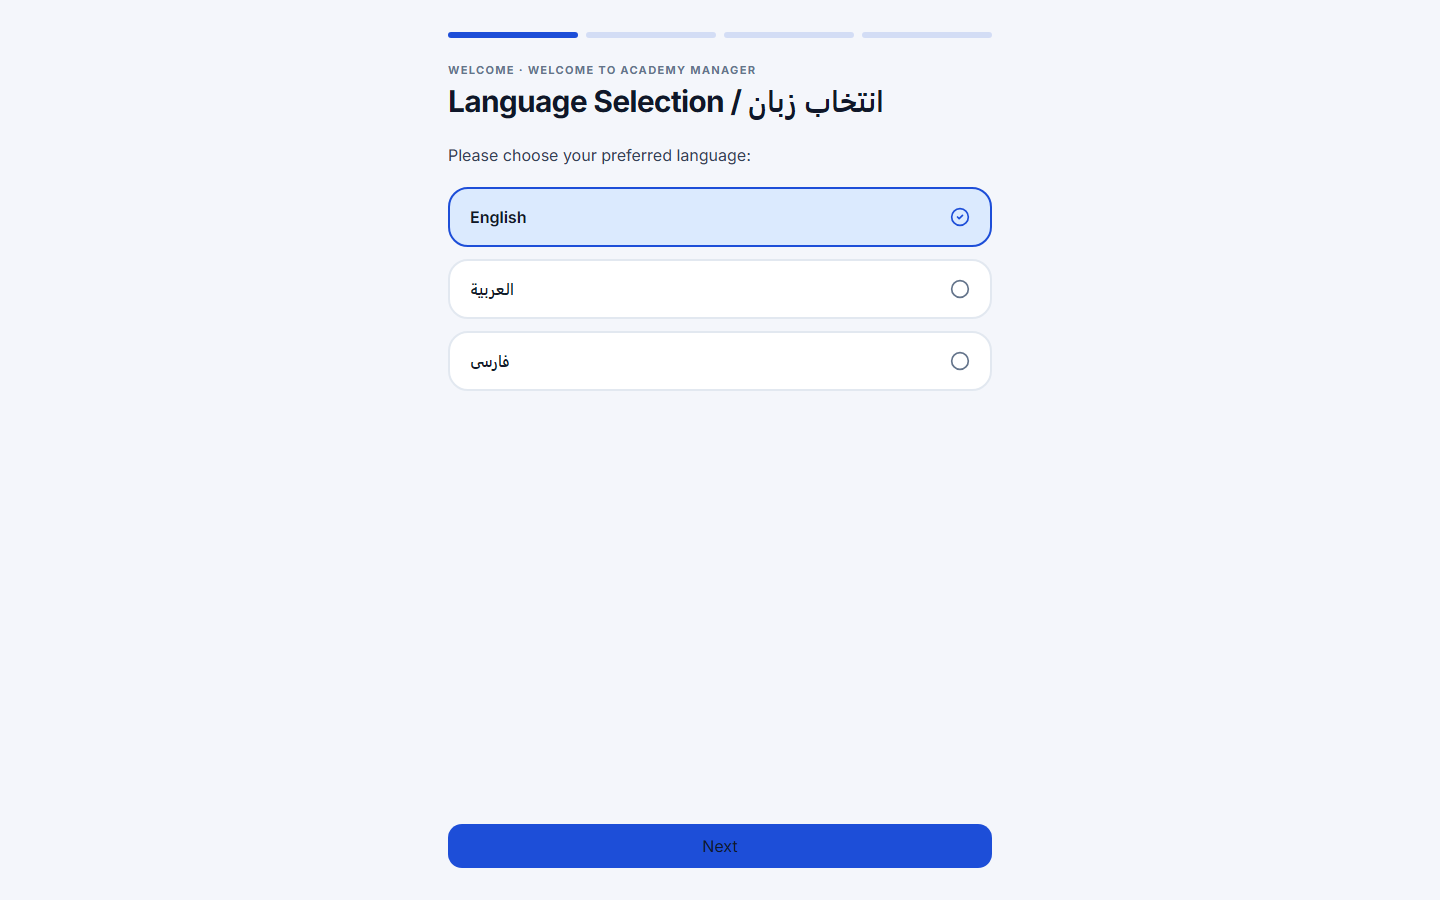
- Language. English, Arabic or Persian. The choice applies to the whole installation (web) or device (app). Arabic and Persian mirror every layout; Persian also switches to the Jalali calendar and Persian digits.
- Learner label. The word used everywhere for the people you teach: Student, Trainee, Member, or anything you type. The interface adapts its sentences to it.
- Currency. The default currency for new classes: AED, USD or Toman (IRT), depending on how the server is configured. Each class can still use another currency, and balances are always kept per currency.
- Academy profile. Only the name is required. Phone, address and social handles appear on the parent report and the dashboard.
Your first afternoon
A sensible order for a new academy:
- Add a term (Terms → Add term): a name and a start and end date.
- Add classes under it (Classes → Add class): teacher, weekly time slots, capacity, default tuition and the number of session credits each learner buys.
- Add learners (Students → Add), then enroll them from their profile or from the class page.
- Take attendance from the dashboard's quick action.
Nothing you enter is ever deleted outright. Every record can be archived and restored, and money rows are voided rather than erased, so exploring is safe.
Signing out and changing your password
The account menu in the top bar signs you out. Settings → Account changes the password; doing so ends every other session of that account.